Rugby Advantage Rule: How Law 7 Keeps the Game Flowing
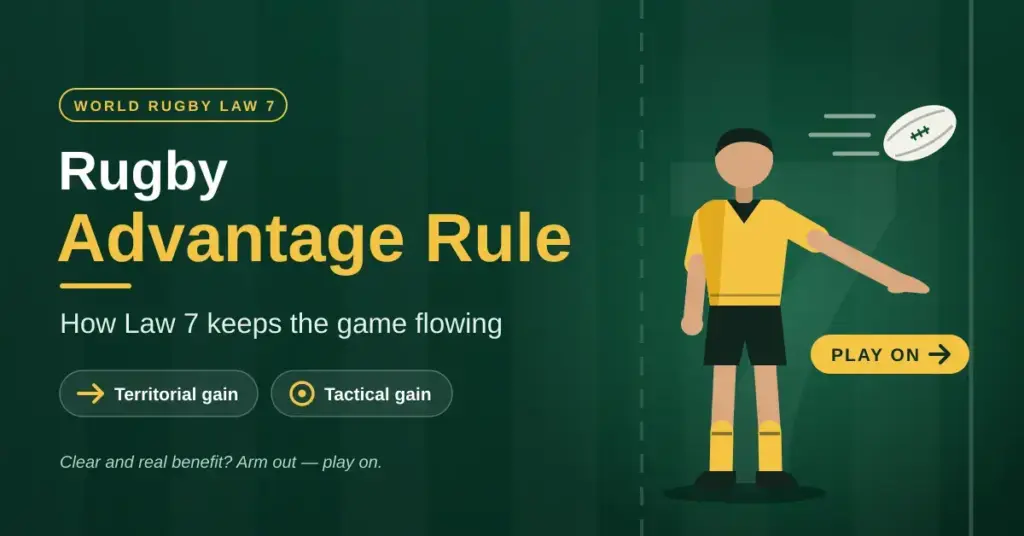
Few laws shape the rhythm of a rugby match as much as advantage. It is the reason a referee can spot a knock-on or an offside yet keep an arm out and let play run on, rewarding the team that did nothing wrong instead of stopping the game for every mistake. For New Zealand fans […]
What is a Scrum in Rugby Union: A Technical NZ Guide
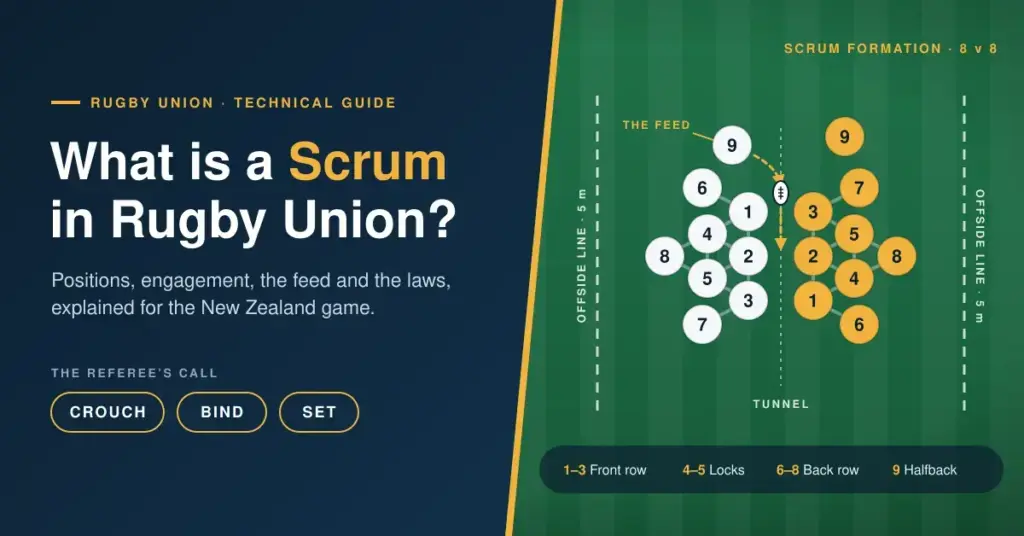
The scrum is one of the most recognisable images in rugby union: sixteen forwards bound together, heads down, driving for possession. But behind that wall of bodies sits a tightly governed contest with its own laws, positions and safety rules. This guide explains, in plain English, what a scrum is, why it happens, who does […]
Defensive Systems in Modern Rugby: How Teams Defend the Gain-Line
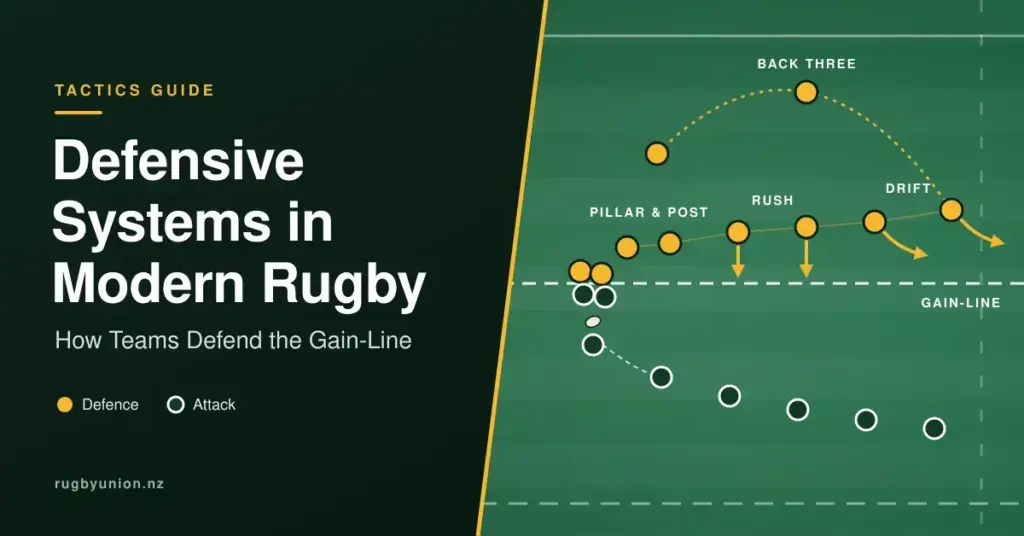
A defensive system is the organised plan a rugby team uses to stop the opposition, slow their ball and win possession back when it does not have the ball. In the modern professional game — and across New Zealand rugby, from club level to Super Rugby Pacific and the All Blacks — defence is now […]
Rugby Yellow and Red Card Rules Explained for New Zealand
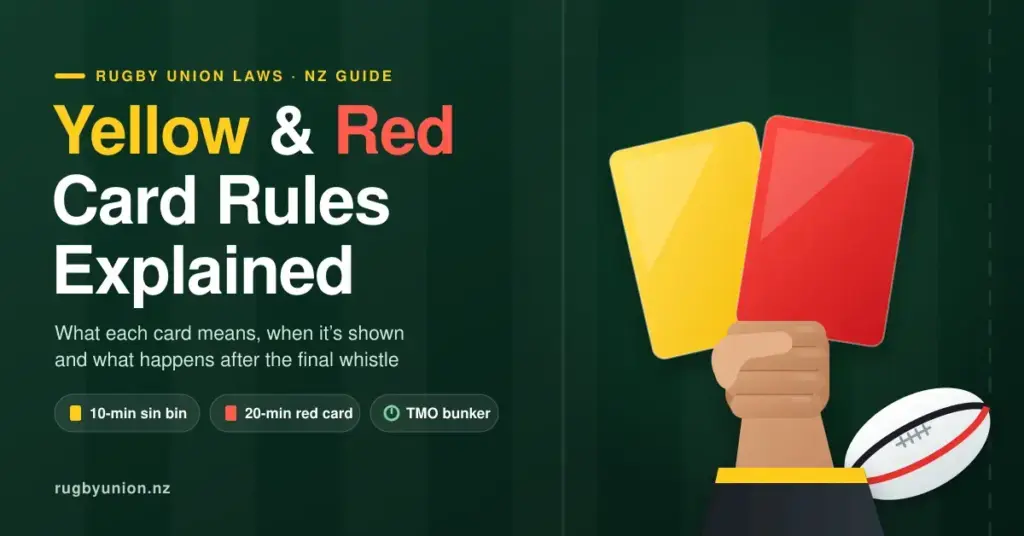
Yellow and red cards are the tools a referee uses to police dangerous and unfair play in rugby union, and few areas of the laws matter more in New Zealand’s fast, physical game. A single card can swing a Super Rugby Pacific play-off or a Bunnings NPC final, and the rules around them have changed […]
Offside Rules in Rugby Union Explained for New Zealand Players
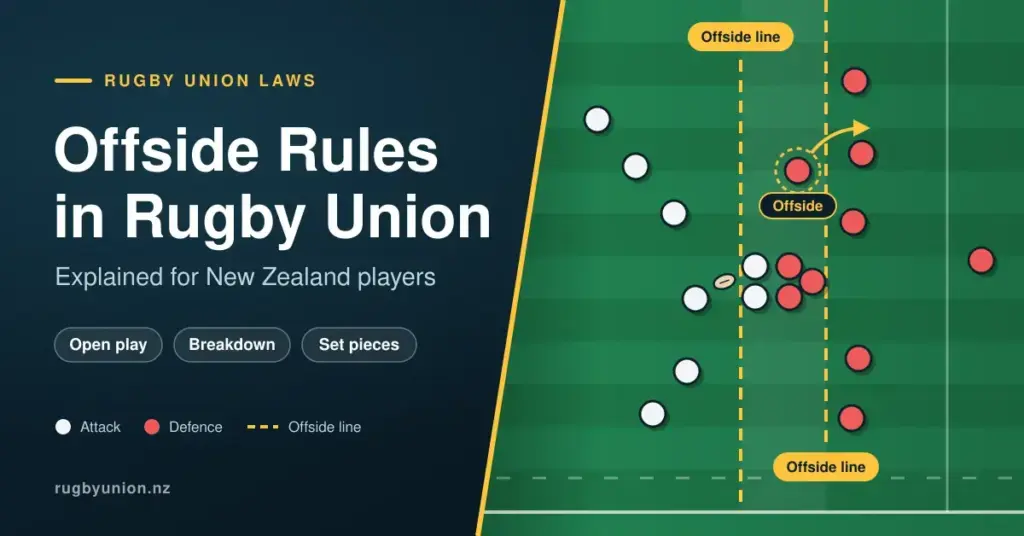
Offside is the law that gives rugby union its shape. It sets an invisible line across the field, decides who is allowed to challenge for the ball, and protects the space that attacking teams need to play. For anyone following the game in New Zealand — from a first-time Small Blacks parent to a club […]
Rugby Strategy and Tactics in New Zealand: How the Modern Game Is Won
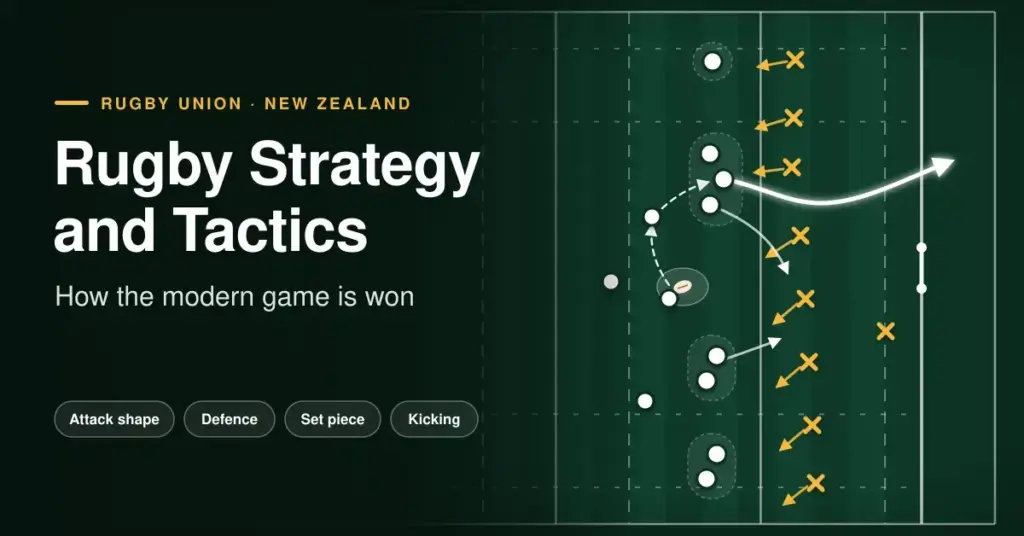
Strategy and tactics are the thinking half of rugby union — the plans a team makes before kickoff and the split-second choices it makes once the ball is live. In New Zealand, where the game is followed from schoolyards to the All Blacks, coaching has shifted over the past decade from rigid, scripted patterns toward […]
How Teams Control Territory in Rugby: The Tactical Map Explained
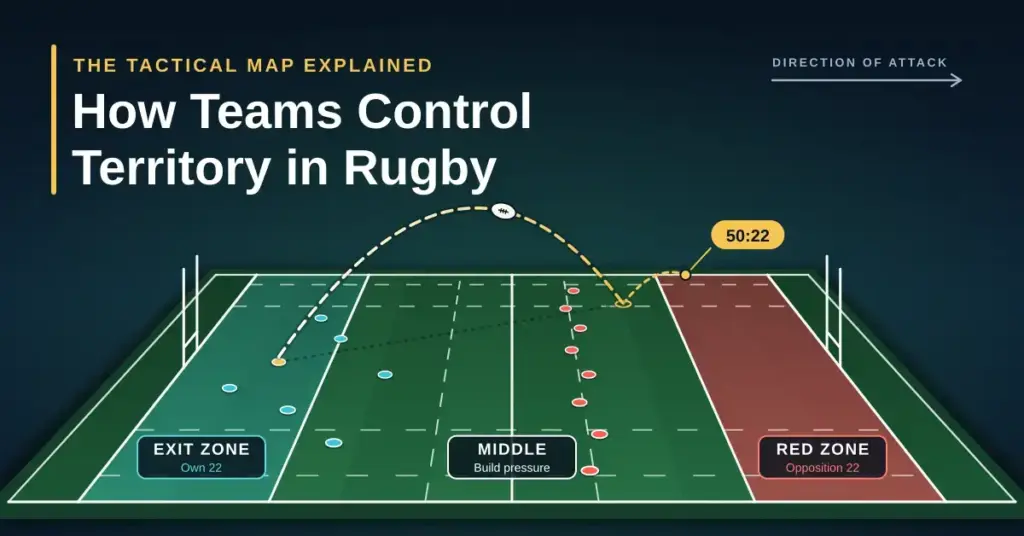
Territory is one of the quiet forces that decides rugby matches. It simply means where the ball is on the field relative to each team’s goal line — and the further play sits from your own line, the less a mistake can cost you and the more pressure sits on the other side. This guide […]
Set Piece Strategies in Rugby Union: Scrum, Lineout and Maul
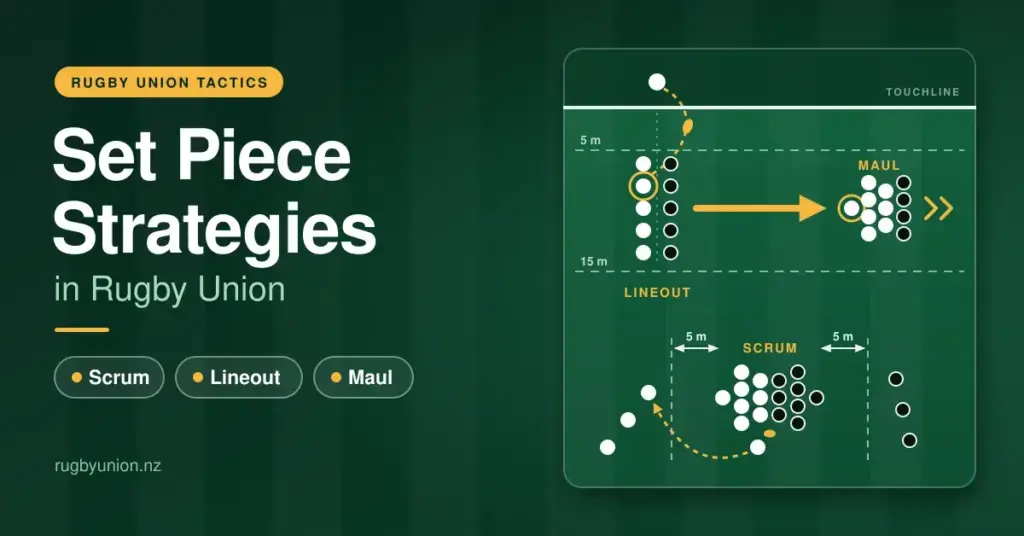
In rugby union, a set piece is a controlled restart of play — a scrum or a lineout — used to bring the ball back into the game after a stoppage. For New Zealand teams, from Super Rugby Pacific down to club and school level, these restarts are far more than a way to regain […]
Rugby Game Management Explained: A Technical Guide for NZ Teams
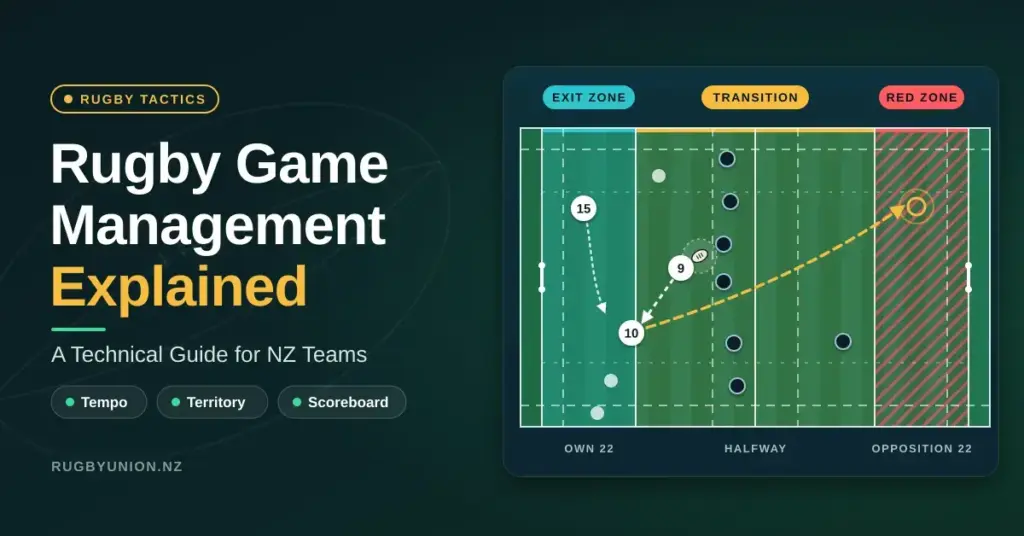
Game management is the part of rugby that rarely shows up on a highlights reel yet decides most tight matches. It is the running set of decisions a team makes about tempo, field position and the scoreboard so that its physical effort turns into points. In New Zealand’s fast, high-contact version of the game, those […]
Breakdown Tactics in Rugby: The Ruck and Jackal Explained
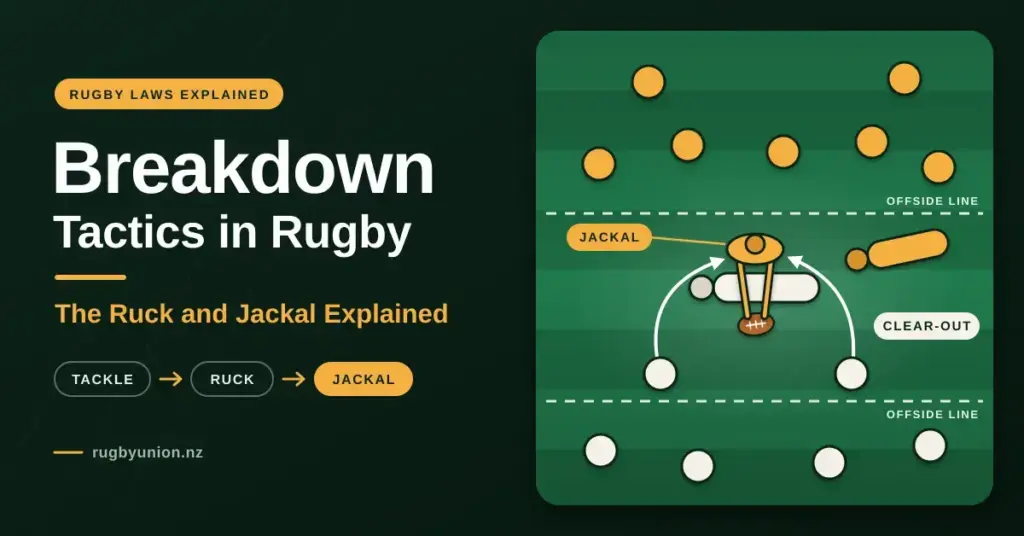
The breakdown is the contest for the ball in the moments right after a tackle. It happens more often than any other phase of rugby — several times a minute — and it produces more penalties than anything else on the field. It is also the part of the game that confuses new viewers most. […]